
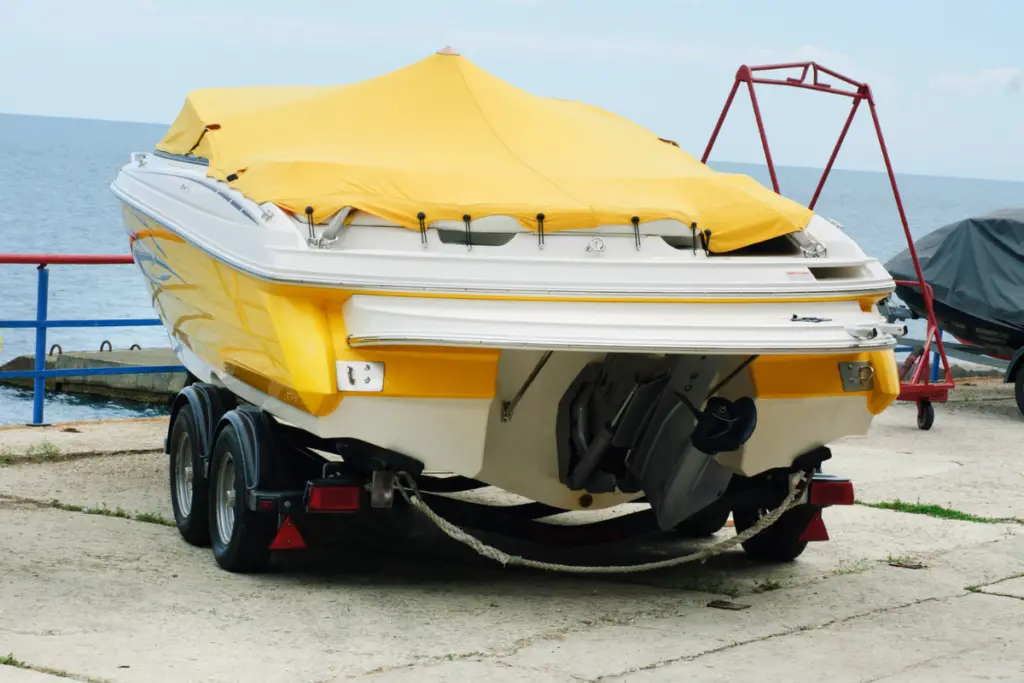
Getting a new boat can feel amazing, but painting it can sometimes be a bit of a nightmare. This is especially true if you are inexperienced. However, it doesn’t have to be the case! In fact, bottom painting a boat on a trailer can be very simple and easy.
In this article, we will discuss the best way to bottom paint a boat on a trailer in our step-by-step guide. If you’re interested, read on for more!
Why Is Bottom Painting A Boat Important?
Bottom painting a boat is important because it keeps weeds, barnacles, slime, and other marine creatures from growing under the boat and potentially risking damage to it.
When you bottom paint a boat, you are prolonging its functionality and saving yourself a lot of money in the long run.
How To Bottom Paint A Boat On A Trailer: Equipment
Here is everything you need to successfully bottom paint a boat on a trailer!
- Tools for cleaning
- Materials for surface prep
- Resources for paint application
- High-quality bottom paint
The higher in quality your bottom paint is, the better your results will be. We recommend using copolymer ablative paints because they will result in a controlled biocide release without compromising the antifouling ability of the bottom paint.
However, if your boat stays in the water for the duration of the year, then it is best to use an epoxy paint that has been hard-modified. The copper content of this paint should be high.
Finally, if you enjoy taking your boat out onto freshwater, then there will be a concern about algae growth on the bottom of the boat. To combat this, it is best to use thin-film paint.
How To Bottom Paint A Boat On A Trailer: A Step-By-Step Guide
Follow these steps to perfectly bottom paint your boat while it’s still on its trailer!
Bottom Painting A Boat: Step 1
First, you will need to remove any slime or organic growth from the bottom of the boat. It is best if the boat is still wet while you do this to make removal easier.
Otherwise, you will need to use a chisel to remove the items and this will not be pleasant.
So, power-spray your boat with clean water and then remove debris and dirt. If there is any debris or dirt that needs to be loosened, then you can use a hand scraper to do this.
What’s more, if you see that any paint has been chipped, it will be wise to spray this, too.
Bottom Painting A Boat: Step 2
Now, you may need to strip away the old paint. It would be unwise to paint your boat without first taking away any old paint, especially if you are planning to use vinyl paint on a coat that is not vinyl.
So, first, you need to inspect the bottom of the boat for any signs of chipping, flaking, lifting, or sloughing.
If you notice any of these, take your hook scraper and remove all of the old paint from the bottom of the boat. It is better to use a hook scraper than a chemical stripper.
Bottom Painting A Boat: Step 3
Now, it’s time to smoothen out the bottom of the boat. To do this, take your 80-grit sandpaper and connect it to an orbit sander.
Then, all you need to do is sand away! Vacuum hosing the sander is advisable because you can collect and remove all of the sanding dust.
It is always best to wear safety equipment when sanding!
Bottom Painting A Boat: Step 4
After sanding the bottom of the boat, you will need to clean it. Make sure the boat is totally dry before moving on to the next step.
Bottom Painting A Boat: Step 5
Now, it is time to mask off the borders of the boat. Regular masking tape will break off in under a day, which is no good. So, you will need long masking tape that will stick to the surface of the boat for a long period of time.
Bottom Painting A Boat: Step 6
Next, you will need to cover the trailer! Despite using a paint roller to bottom paint the boat, some paint may splash onto the trailer of the boat. So, we recommend covering it with some large plastic sheets or old newspaper.
Secure your cover of choice with tape and fasten the outer edges of it with a rope. This will stop it from flying away.
Bottom Painting A Boat: Step 7
Now, it is time to prepare the bottom paint. You will first need to shake the paint tin to make sure the copper and pigments are properly mixed. It is best to place the tin on a paint shaker and run it for 5-10 minutes.
If you do not have a paint shaker, then you can attach a power drill to your mixing paddle and shake it this way!
Bottom Painting A Boat: Step 8
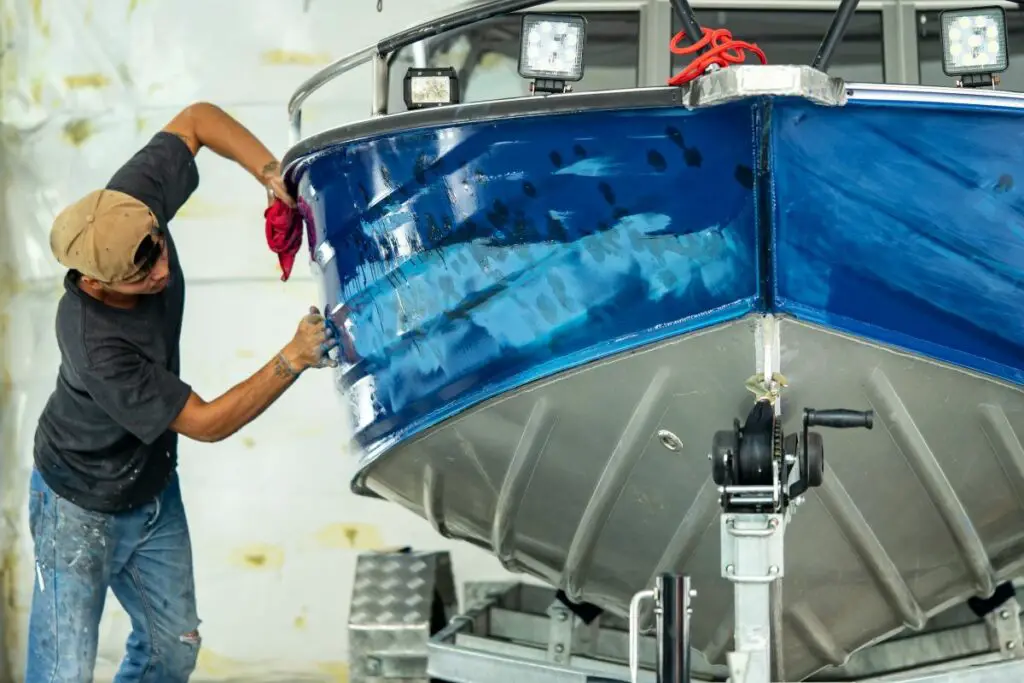
It’s time to paint the boat’s surface! Pour the paint onto the roller pan and then apply it to the boat with the foam roller. Use up and down motions to apply the paint.
We recommend starting at the waterline and working your way toward the boat’s keel. Since paint dries quickly, it is best to work fast.
Don’t forget to remix your paint every time you refill the paint tray!
Bottom Painting A Boat: Step 9
Finally, you need to reposition the boat. To do this, let the paint dry completely. Then, take it into the water, and place it back onto the trailer. You should now be able to see any parts of the boat that have not been painted.
If you do notice this, take your boat to the shed and paint over the required parts in exactly the same way as above!
Final Thoughts
Bottom painting a boat on a trailer can be done in just 9 simple steps! Be sure to follow these steps exactly and your boat will be ready to sail again in no time!
