
If you’re an angler or boating enthusiast, installing or replacing a fishfinder is a task you’ll likely undertake at some point. Fortunately, installing binnacle-mounted fishfinders with transom-mounted transducers is a straightforward DIY job.
Installing a fishfinder can provide valuable insights into underwater structures, fish locations, and water depth, allowing you to make important informed decisions while out on the water.
In today’s article, we will be providing you with the necessary tools and step-by-step instructions to guide you through the process.
But, before diving into the installation, it’s essential to gather the necessary tools, which typically include a power drill, mounting brackets, screwdriver, wiring, and of course, the fishfinder unit itself.
As well as the tools, understanding the basics of transducer placement and ensuring a secure and level installation are crucial for optimal performance.
By following the step-by-step instructions and tips in this guide, you’ll gain the knowledge and confidence needed to successfully install a fishfinder and unlock its full potential on your fishing excursions.
What Is A Fishfinder?
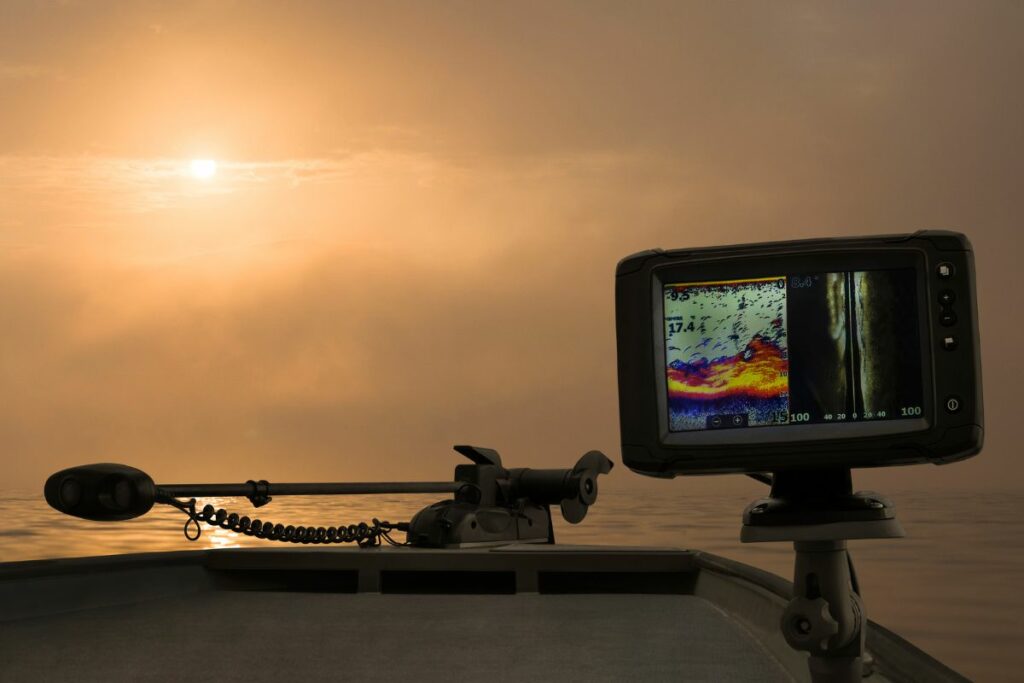
A fishfinder is a vital tool used by boaters to detect the presence and location of fish in the water. Operating on the SONAR (Sound Navigation and Ranging) technology, fishfinders have become indispensable in the fishing industry as well as for recreational fishing enthusiasts.
With the ability to display fish locations on digital screens, such as LCD or CRT monitors, fishfinders have evolved significantly since their introduction in the 1990s.
Modern fishfinder technology incorporates additional features like GPS, radar systems, and electronic compasses, enhancing the device’s reliability and functionality.
Installing A Fishfinder – Tools Needed
Before we get down to the business of installing fishfinder on your boat, there are some tools you’ll need:
- A Power drill and drill bits
- A Phillips-head screwdriver
- A wire fish
- A wire stripper/crimper
- Various fishing rods to test out the fishfinder after installation is complete
You’ll be pleased to know that this project shouldn’t take any more than an hour. Costs can also be kept to a minimum by purchasing the parts and installing the fishfinder yourself.
Once you have all the tools required, let’s get started on the installation process.
Step One – The Installation Of The Binnacle Mount
Prior to starting the installation of your fishfinder, it is essential to locate the optimal position. Aim to position the fishfinder as centrally as possible on the boat’s helm, as this offers the most advantageous viewing angle.
The device should be situated at a height between the waist and shoulder, avoiding overhead mounting spots, like an electronics box or hanging from a hard-top, which would require tilting your head back and could potentially strain your neck.
Additionally, ensure that the chosen location permits tilting and/or turning the unit without interference from the windshield, compass, throttle, or other fixed objects.
To ensure a clear space beneath the helm station, carefully examine it from the back or underside, ensuring there are no obstructions. There should also be sufficient room for bolts and wires to protrude.
This is also a good moment to identify the power bus and/or fuse block and confirm the availability of terminals for usage. According to ABYC specifications, up to four terminals per stud are permissible.
Once you have determined the best spot for installation, utilize either the provided binnacle template or the binnacle itself as a guide, marking the mounting hole positions using a pencil.
Proceed to drill the mounting holes using a power drill, ensuring it operates at full speed throughout (a slowly turning drill bit is more prone to catching the gelcoat edges, potentially causing splintering and chipping).
Now you’ll need to establish an entry/exit point for the wires of the unit. Before proceeding with drilling, carefully examine the console to determine if there is an existing hole from a previous equipment installation that can be reused.
Minimizing the number of holes in your helm is preferable. If there is no existing hole, you will need to drill a new one directly behind the binnacle mount. Ensure that the hole is sufficiently large to fit all the unit’s wires.
Before drilling, temporarily position the binnacle and fishfinder to verify that there is adequate clearance between the mount and the hole, allowing the wires to pass through without sharp bends. This is important to prevent the wires from rubbing against the hole’s edge, as it could lead to chafing issues in the future.
After completing the drilling of all the holes, apply a line of silicone sealant around the bottom of the binnacle mount and around each hole. Position the binnacle securely in place and, before inserting the bolts, add a small amount of silicone to the ends of each bolt.
Proceed to fasten the bolts to the helm using Nylock aircraft-style locking nuts to ensure a secure attachment.
Step Two – Run The Power Leads
When installing a fishfinder, follow proper procedures to avoid damaging the unit and voiding the warranty. Adjust power leads if necessary, using color-coded tinned-copper wire and recommended gauge.
Connect wires with crimp barrel connectors and protect them with heat-shrink tubing and keep the manufacturer’s in-line fuse intact.
Mount the transducer in an obstruction-free location on the hull. Mark and drill pilot holes, applying sealant generously. Secure excess wire inside the helm. Avoid cutting the transducer wire or bundling it with other cables that cause interference.
By adhering to these steps, you can install the fishfinder successfully, maintaining performance and warranty coverage.
Step Three – Complete The Job
To protect the wires in your boat’s helm, seal the wiring hole behind the binnacle mount using a grommet or silicon sealant. Cover it with a clamshell vent by marking and drilling the necessary spots, then screw it down.
Prior to testing the boat, ensure the 5200 sealant used for the transducer mounting holes has dried completely, which can sometimes take up to a week.
When launching the boat, the fishfinder should function well at idle speed, but issues may arise when accelerating. If the reading is lost, adjust the transducer’s height incrementally until you achieve optimal performance, keeping in mind that high speeds can affect accuracy.
And, that’s it! Now, it’s time to test if your fishfinder is working properly. If so, job done!
In Summary
As you can see, installing a fishfinder is not the most simple procedure, but with some guidance and patience, you can have it set up in around an hour or so.
Now, go and get the catch of the day!