
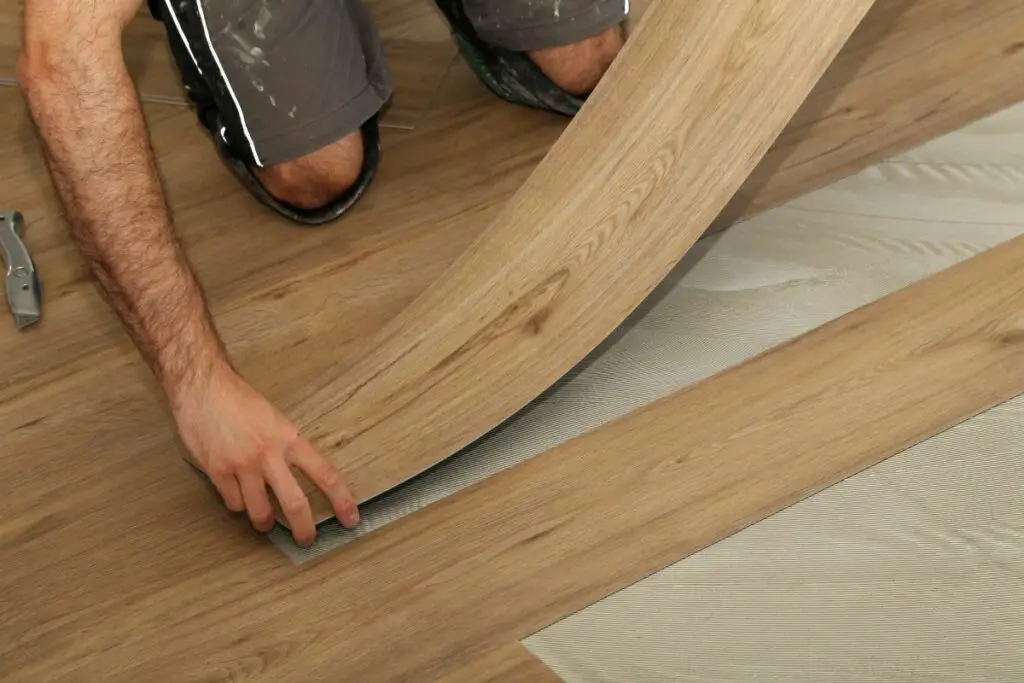
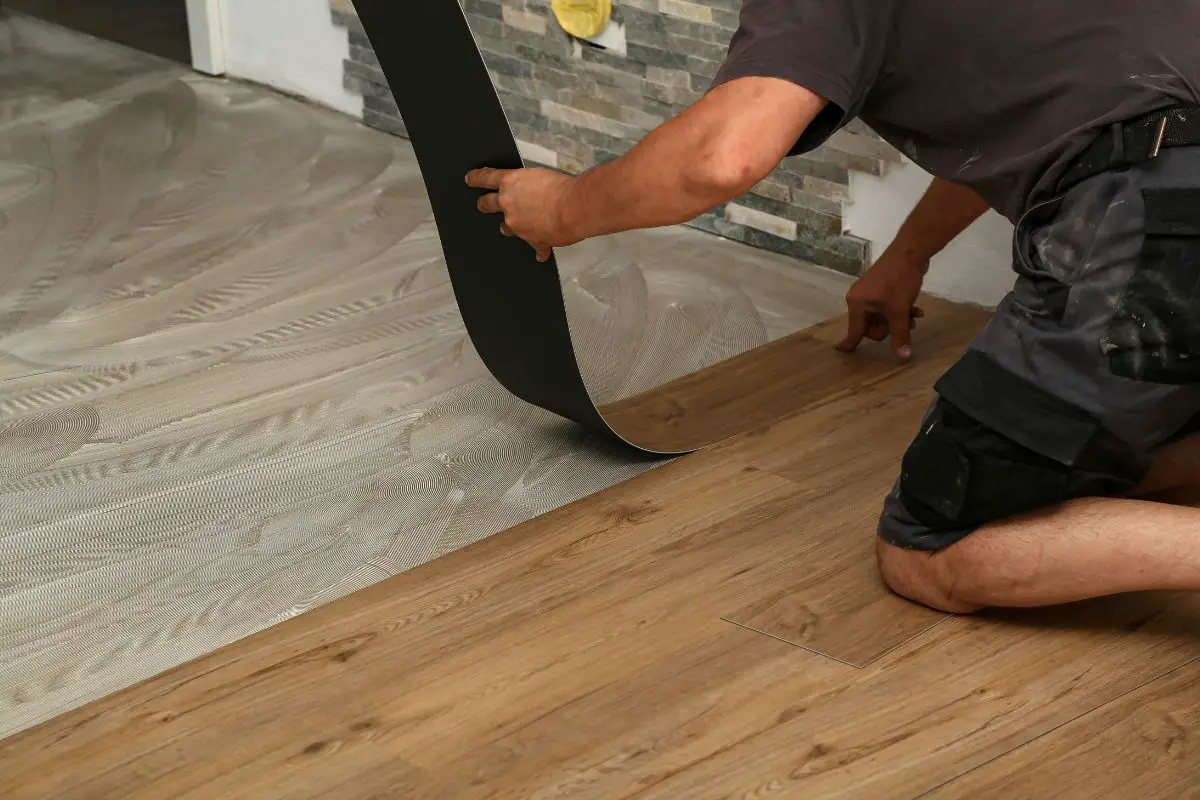
Vinyl flooring can be a great option for your home, but when it comes time to replace it, you may be left with the daunting task of removing the adhesive residue left behind.
Vinyl flooring glue can be a stubborn substance that requires the right tools and techniques to remove without damaging your floors.
Fortunately, with a little bit of know-how and the right approach, you can successfully remove vinyl flooring glue and restore your floors to their original condition.
In this guide, we’ll walk you through the step-by-step process of removing vinyl flooring glue, so you can tackle this project with confidence.
What Is Vinyl Flooring Glue?
Vinyl flooring glue, also known as adhesive, is a type of bonding agent used to secure vinyl flooring to a subfloor or underlayment. It is typically applied to the surface of the subfloor or underlayment and then the vinyl flooring is laid on top of it.
Vinyl flooring glue is designed to create a strong, durable bond that can withstand foot traffic, moisture, and other wear and tear.
However, over time, the glue may deteriorate or become damaged, leading to the need for removal and replacement of the vinyl flooring.
Why Might You Need To Remove It?
There are several reasons why you might need to remove vinyl flooring glue:
- Replacing vinyl flooring: If you want to replace your vinyl flooring with a new one, you’ll need to remove the old glue first to ensure a smooth and level surface for the new installation.
- Damage to the vinyl flooring: If your vinyl flooring has become damaged or worn out, you may need to remove the glue to access and repair the subfloor or underlayment.
- Health concerns: Older vinyl flooring glue may contain asbestos, a hazardous material that can cause serious health issues when inhaled. If you suspect that your vinyl flooring glue contains asbestos, it’s essential to have it professionally removed.
- Aesthetic reasons: If you don’t like the look of the vinyl flooring glue or if it has discolored or stained over time, you may want to remove it to improve the appearance of your floors.
Tools Required To Remove Vinyl Flooring Glue
Removing vinyl flooring glue requires a combination of manual labor and specialized tools. Here are the tools you may need:
- Safety goggles and gloves
- Floor scraper or putty knife
- Heat gun or hair dryer
- Solvent, such as mineral spirits, adhesive remover, or acetone
- Bucket or spray bottle for solvent application
- Scrub brush or abrasive pad
- Sandpaper or sanding machine (optional)
- Vacuum cleaner or broom and dustpan for cleaning up debris
How To Remove Vinyl Flooring Glue: Step By Step
Here are the step-by-step instructions to remove vinyl flooring glue:
1. Safety First
Before you begin removing the vinyl flooring glue, make sure to wear protective gear, including safety goggles and gloves, to avoid any potential injury or irritation.
2. Prepping The Area
Remove all furniture, appliances, and any other items from the room. Cover nearby surfaces with plastic sheets or drop cloths to protect them from the solvent or debris. Open windows or doors to ensure proper ventilation.
3. Soften The Glue
Use a heat gun or hairdryer to warm up the vinyl flooring glue. This will soften the adhesive, making it easier to remove. Hold the heat gun or hair dryer a few inches away from the glue and move it in a circular motion.
4. Scrape The Glue
Use a floor scraper or putty knife to scrape off the softened vinyl flooring glue. Work in small sections and be careful not to damage the subfloor or underlayment. For stubborn areas, you may need to repeat steps 3 and 4.
5. Apply Solvent
If there is still glue residue remaining, apply a solvent such as mineral spirits, adhesive remover, or acetone to the affected areas.
Follow the manufacturer’s instructions and apply the solvent with a spray bottle or a bucket and a scrub brush or abrasive pad. Allow the solvent to sit on the glue for the recommended amount of time.
6. Scrub The Glue
Use a scrub brush or abrasive pad to scrub the glue residue off the floor. Apply more solvent as needed and continue scrubbing until the glue is completely removed.
7. Sand The Area
If there are still traces of glue residue, you can sand the area using sandpaper or a sanding machine. This will help to remove any remaining glue and create a smooth surface for the new flooring installation.
8. Clean Up
Use a vacuum cleaner or broom and dustpan to clean up any debris or dust left from the removal process. Dispose of all materials properly.
Safety Precautions
When removing vinyl flooring glue, it’s essential to prioritize safety to prevent any injuries or health hazards. Here are some safety tips to keep in mind:
- Wear protective gear: Always wear safety goggles, gloves, and a dust mask to protect yourself from flying debris, chemicals, and dust.
- Proper ventilation: Open windows or doors and use fans to ensure proper ventilation in the room. This will help to reduce exposure to fumes from solvents and chemicals.
- Use the right tools: Use the appropriate tools for the job, such as a floor scraper or putty knife, to avoid damaging the subfloor or underlayment.
- Avoid heat damage: When using a heat gun or hair dryer to soften the glue, be careful not to overheat the area, as this could cause damage to the subfloor or underlayment.
- Follow manufacturer instructions: Always follow the manufacturer’s instructions when using solvents or chemicals, and use them in a well-ventilated area.
- Dispose of materials properly: Dispose of all debris, chemicals, and materials properly according to local regulations.
Final Thoughts
Removing vinyl flooring glue may seem like a daunting task, but with the right tools and techniques, it can be done effectively and safely.
Whether you’re looking to replace your vinyl flooring, address damage to the subfloor, or improve the appearance of your floors, the step-by-step instructions outlined above can help you remove the adhesive residue with ease.
Remember to always wear protective gear, properly ventilate the area, and follow manufacturer instructions when using solvents or other chemicals.
By taking the time to remove vinyl flooring glue properly, you can create a clean and level surface for your new flooring installation, as well as a safer and healthier living environment.